Rock the Camera You've Got
Listen. We all have the very best of intentions. But life is big and messy and busy and we can't possibly master everything under the sun in our short time here. For me, it's sewing. How I would love to not just sew simple things but big, beautiful quilts! Photography falls into this category for most - many of us would love to learn every dial on our cameras, but as it turns out, it's not as easy as Step 1, Step 2, Step 3. Like any craft, it takes years and years to master (most say 10,000 hours +, if we want to get specific :-)). But luckily, 99.5% of us have a powerful, high quality and above all SIMPLE camera in our pockets and purses all the time!
So in summary, you want better pictures, you don't have the time or means to learn how to shoot with a big fancy camera, BUT you are walking around daily with a super nice phone camera in your pocket that IS as easy as Step 1, Step 2, Step 3? What are you waiting for?? No more excuses!
Here are three tips to get you started using your phone camera well. If you're local and looking for more in-depth tips, you can check out my Mom's Story Phone Photography Workshop here. (Next workshop is August 16th!)
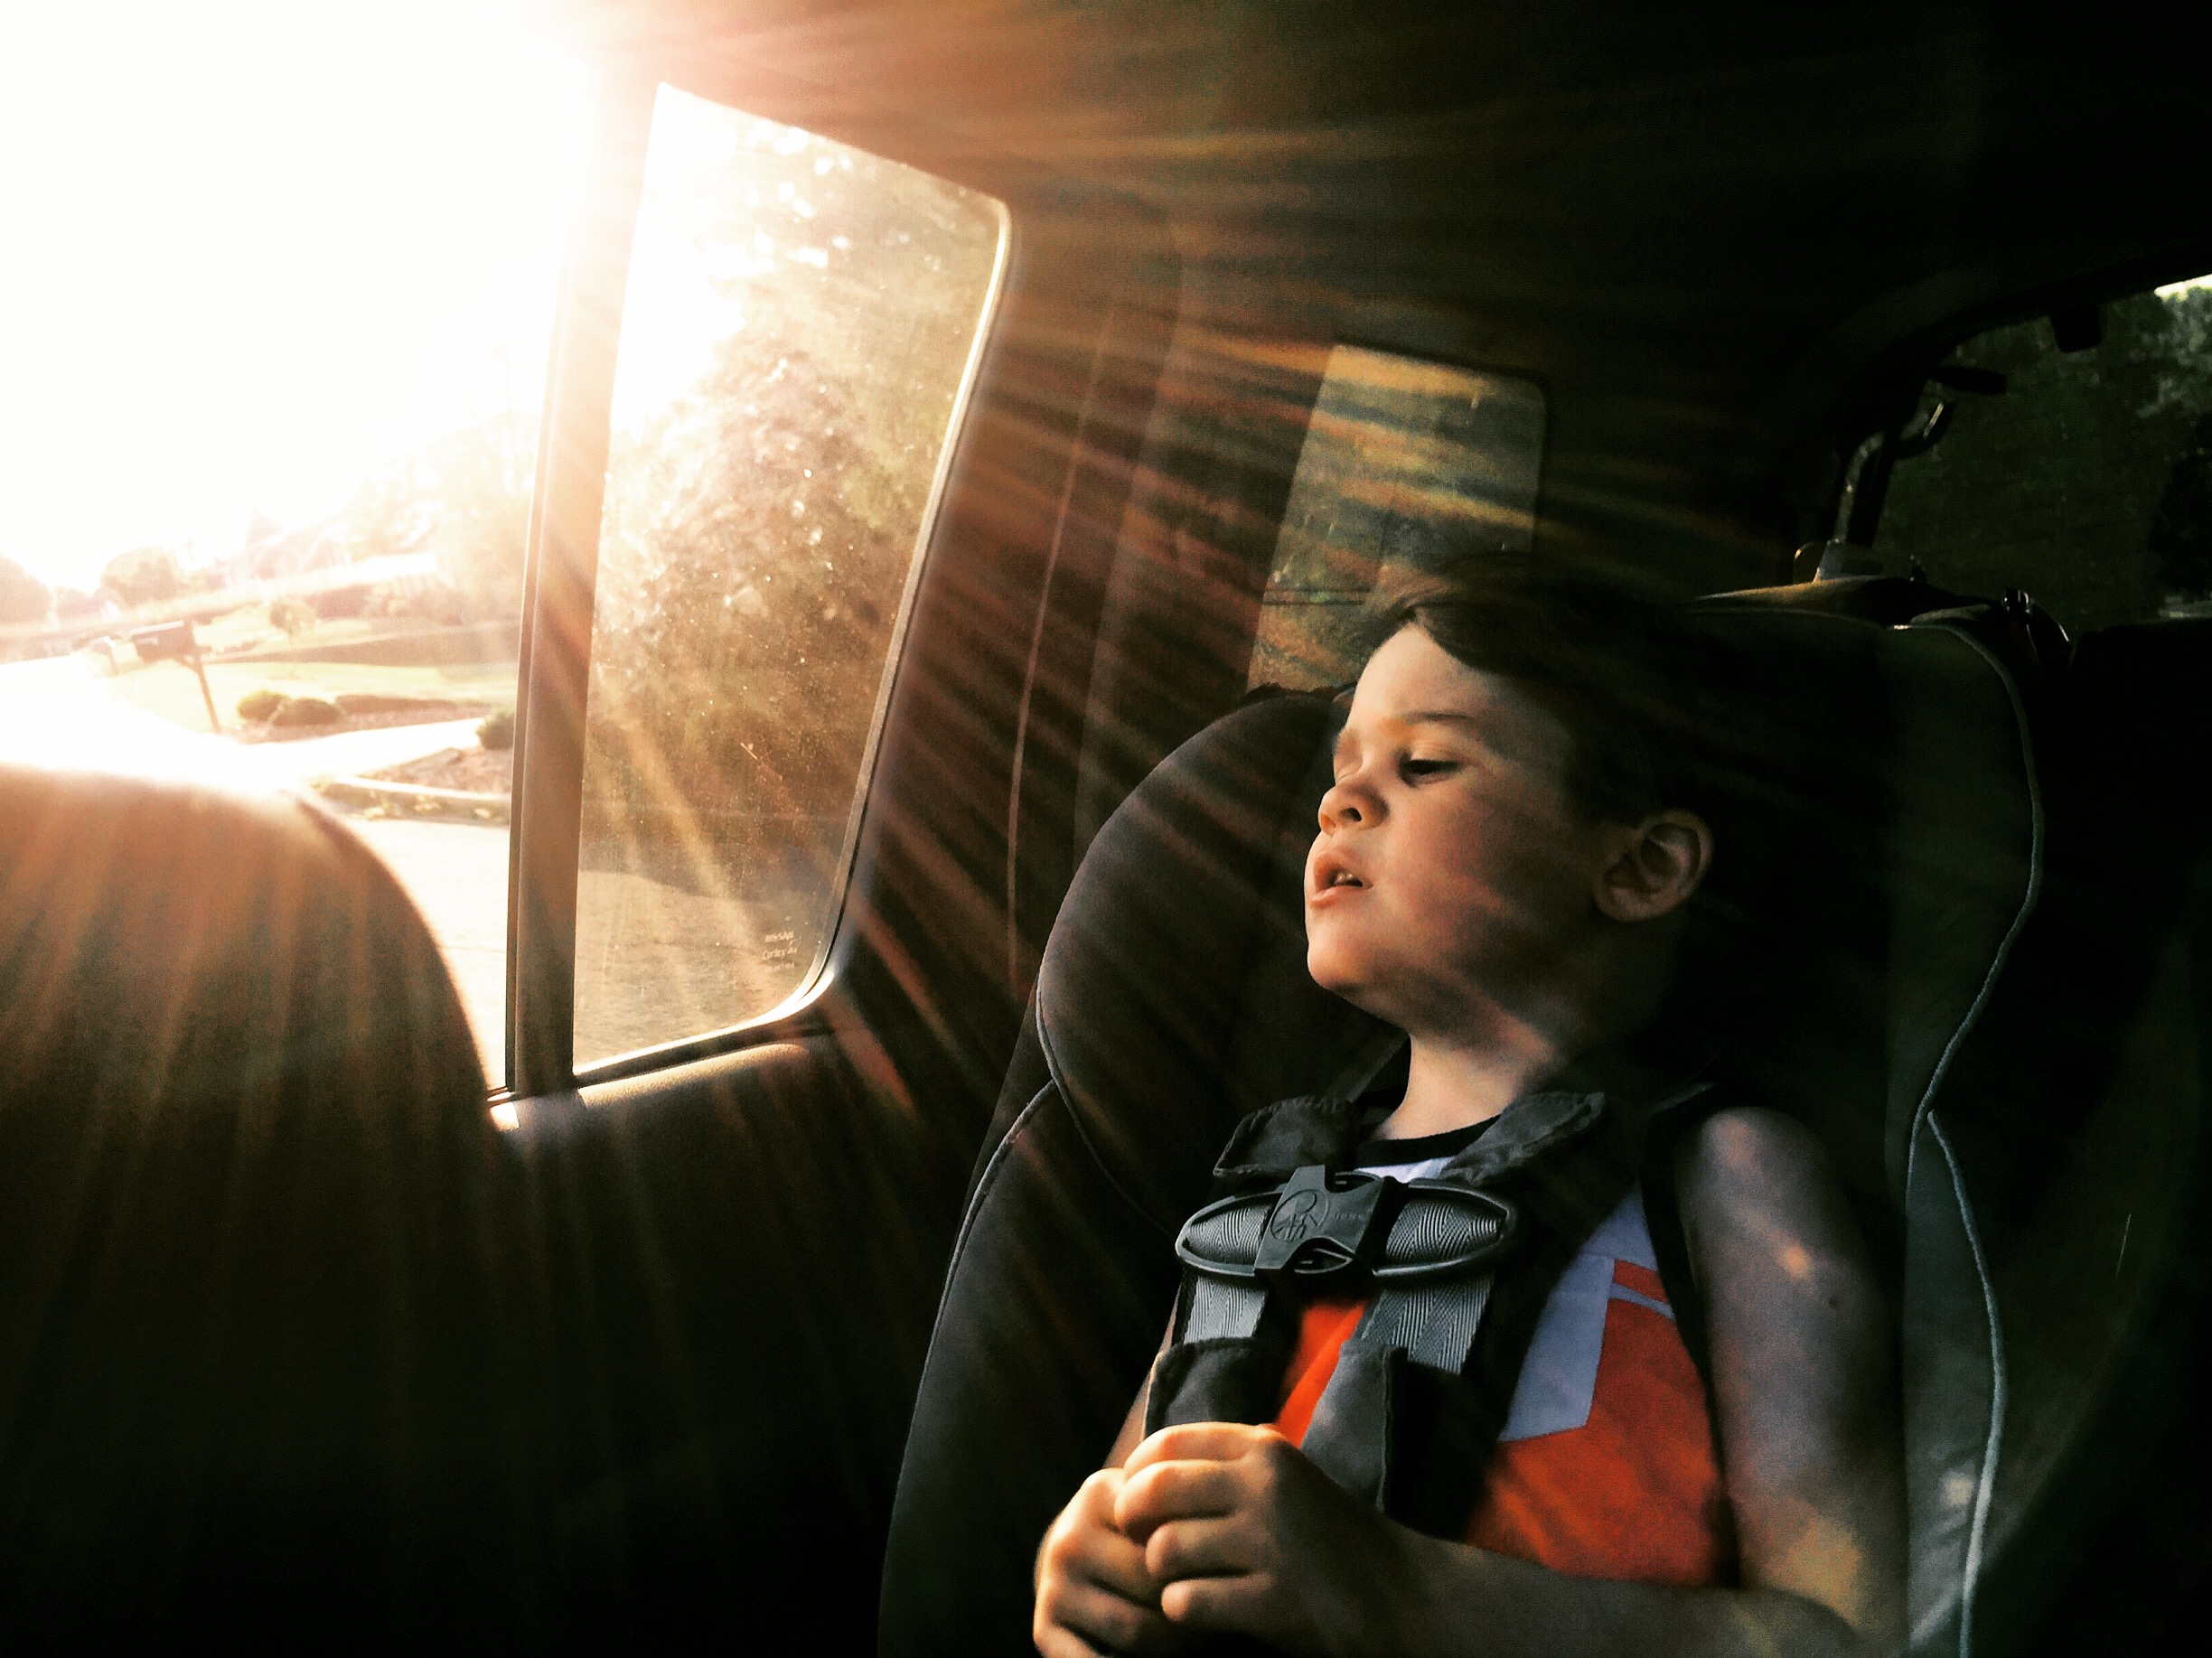
1. Always, always, always consider the light. Most of my Phone Photography workshop is about light- that's how important it is. With any camera that's true, but your phone is so simple and has such little wiggle room that you must find the most pleasing light possible to make the best image. Without writing a novel, my best advice is to start studying the light everywhere you go. Start by attempting to capture just the light. Sun flare, dappled light, rim light (like in the bottom pic), hard light, soft light. Don't even worry if you have a subject in your pictures. Looking for light is simply a habit of the mind. Once you start seeing it, you can't stop. It is the single best thing you can do for your photos, no matter the camera.
2. Stop holding your phone vertically. There are times when the portrait orientation works well. Like when you are standing far away and attempting to make your subject look small in the frame. Or when you are shooting up at a tall building. But for the most part, shooting in that orientation dramatically reduces the amount of image you can capture, especially when you are close to your subject as we often are with kids. Had I shot the above image in portrait orientation, I'd have less sun flare and not nearly enough breathing room on either side him. Lastly, it just looks like a phone picture when you see a super tall skinny vertical picture-- you don't want to give yourself away that easily do you?
3. Find one or two photo editing apps you like and learn them inside and out. I usually stick to a nice clean edit, but recently started using the Brushstroke app (pictured above) because the results make me happy. For the most part though, I use the VSCO app (pictured in #1) or just the Instagram editor (pictured in #2). Lots of others like Camera Plus, Snap Seed, and PicTapGo. I don't think I'm stretching it when I say: It's not really worth shooting with your phone if you aren't going to give it a quick edit on your phone or computer. This is not to say you have to edit EVERY picture! My camera roll is filled with unedited pictures. But I would never print one or share it on facebook or instagram without making some quick adjustments. No filter necessary! Just contrast, brightness, shadows, highlights, straighten, etc... Unless you are shooting in amazing, strong light, no one's images come straight out of their phone with perfect color and contrast, but in about 2-3 minutes you can make it so in an app. In my workshop, we go through every element of editing together so that you know what each of those terms means for your pictures.
Shooting with you phone is as easy as 1, 2, 3.
1: Look for the light.
2. Shoot.
3. Edit.
Today I challenge you to give your phone the credit it's due! Have fun!


